
Tornado in a Bottle
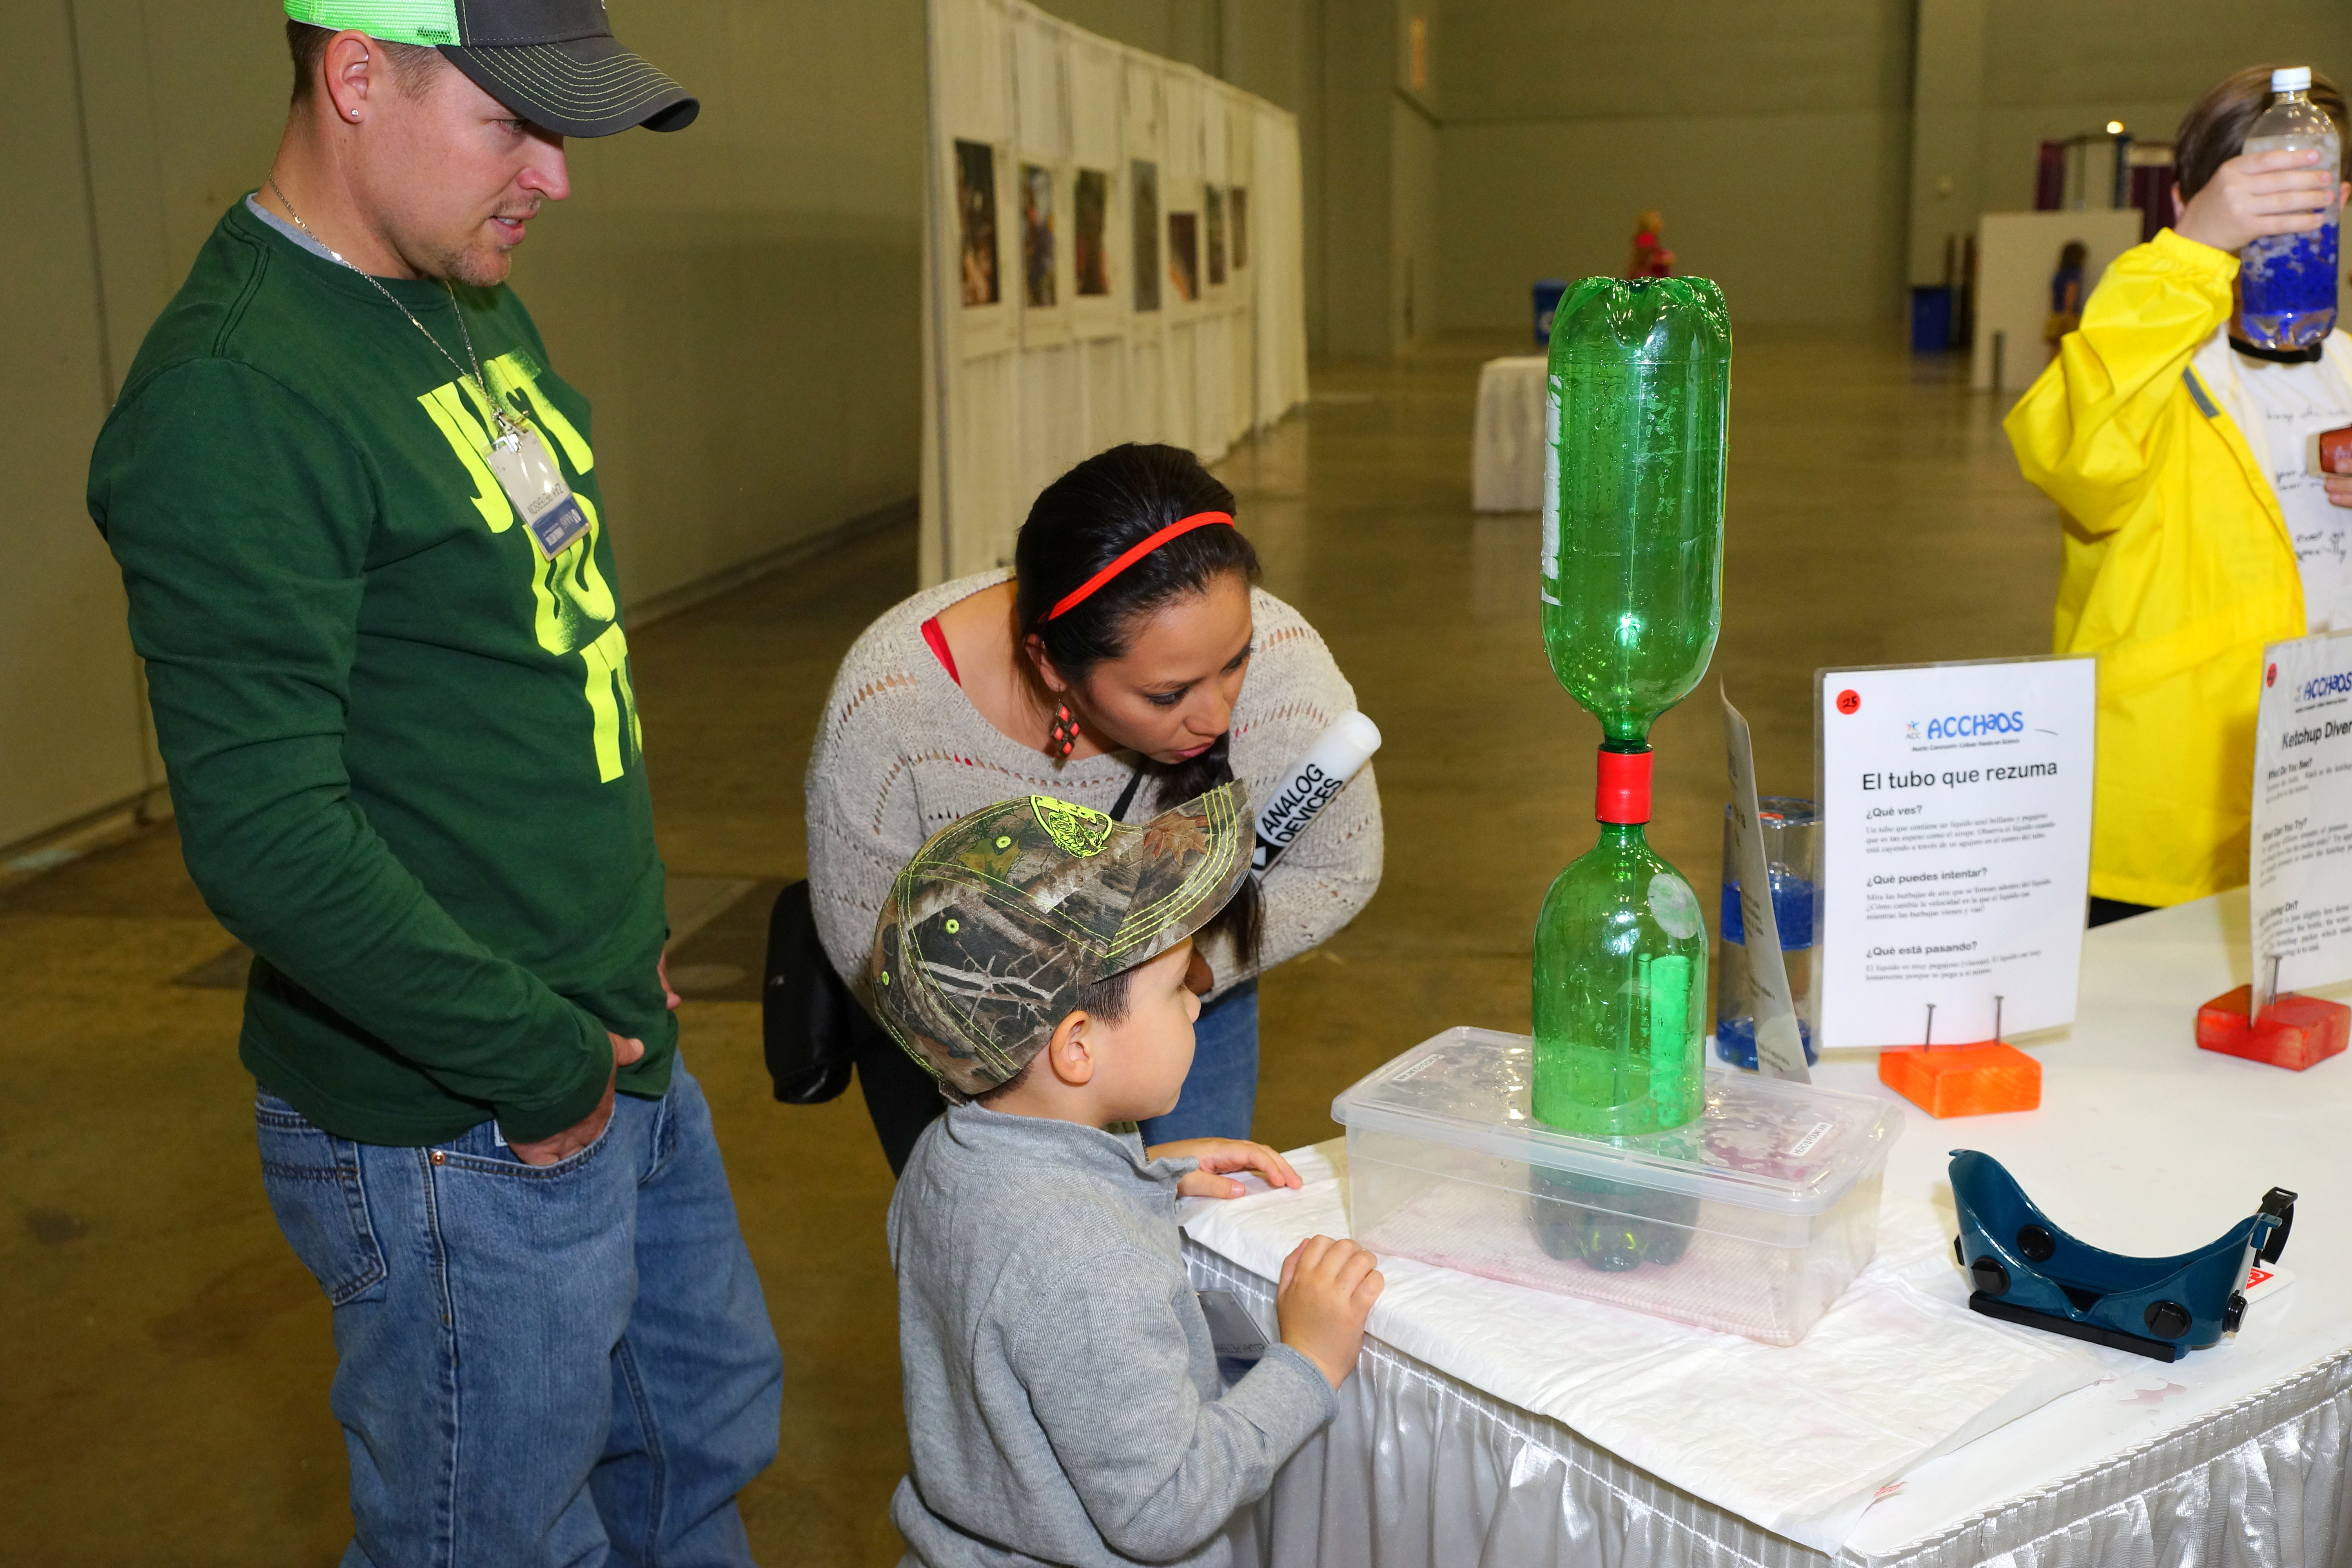
Two soda bottles are connected together, with the bottom one partly filled with water. When you turn them upside-down, and give the top bottle a little swirl, the water draining down into the lower bottle develops a vortex that looks like a tornado!
This exhibit demonstrates conservation of energy. As the water drains to a lower height, it loses gravitational potential energy and gains some kinetic (motion) energy downwards and some rotational kinetic energy.
Materials
- Two soda bottles. 1L bottles work best
- water
- duct tape
- scissors
Construction Instructions
Rinse the bottles well, and work over a sink or tub, or outdoors, in case the water spills.
Cut several strips of duct tape, of increasing width. Start with a thin one, maybe a finger-width or less. Then cut one that's a little wider, and so on, until you have maybe 5 or 6 strips, with the widest one maybe 2 or 3 inches wide. As you cut them, stick one end to the edge of the sink or tub, so you can grab them easily as you work. Don't stick them to wood, duct tape can take the paint off.
Fill one bottle halfway with water, place it on a stable surface (in the tub or sink), and turn the second bottle upside down so that the bottles' openings are lined up as precisely as possible.
Holding the bottles carefully in position, wrap the thinnest piece of duct tape around the joint between the bottle openings. This may be a two person job, with one person holding the bottles while the other person wraps. Make sure to press the duct tape firmly all around to get a good seal. Now repeat with a wider strip, and so on, until you have used all the strips. You might want to cut and add more to make it more sturdy and well-sealed.
Now you're ready to try it out! Make sure to test it somewhere where it doesn't matter if it leaks. Hold the duct tape joint with one hand, lift up the bottles, and put your other hand under the bottom bottle. Then, turn the bottles upside down and set it back on a surface, then pivot the whole thing in a circle. Be careful not to bend the joint. You should see a vortex develop as the water drains to the lower bottle!
Variations
Easier, slightly more expensive technique: You can buy a connector online that screws onto both bottles.
More advanced technique: Use the bottle caps to make a joint. This is only for adults or for older students, and only with careful adult supervision. Hot glue the two bottle caps together on their flat surfaces. Clamp the caps to a workbench, or hold them very carefully with pliers. Mark the center of the circle inside one of the caps with a marker, then drill a hole through the mark. Start with a small hole and then drill a wider hole, between a 1/4 and a 1/2 inch. You can always drill a wider hole, so start small and test it before going bigger.