Syllabus
Click on the word Syllabus above your name once logged on to Lighthouse to access the Syllabus page. You will know that the link is selected when “Syllabus” turns a lighter shade of blue and has a dotted line underneath.

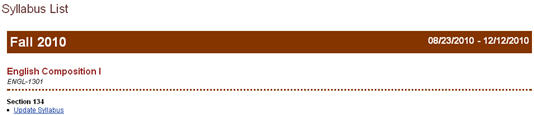
After you click on the Syllabus link, a new page will open displaying the course(s) you have been assigned. In order to add the Syllabus to this course, click on Add Syllabus. If you would like to make changes to the Syllabus once you have started it, click Update Syllabus.
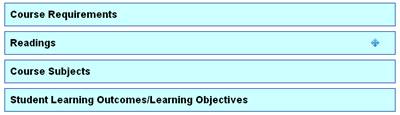
A new page will open with your course information. You will also find four content areas: Course Requirements, Readings, Course Subjects, and Learning Objectives. These are the four required content areas for HB 2504, however, you are able to add additional content areas.
There is also a tutorial that you may launch at anytime to guide you through adding information to the Syllabus. The tutorial is located on the right-hand side of the screen.
To enter information into each content area, place your curser in the text box (under the correct content area) and start typing. You may also open your electronic Syllabus at this time and copy and paste portions into the content areas. You may paste text and tables into the content areas.
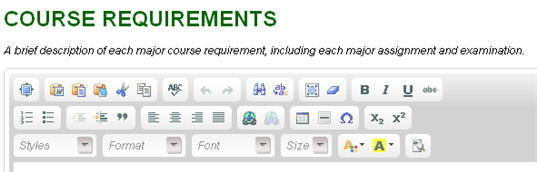
Under each content area you will find a brief description of what should be placed in each content area.
If you would like to check out the features with the editor, click http://docs.cksource.com/FCKeditor_2.x/Users_Guide. Here you will find descriptions of the tools located in the editing area. Each button in the toolbar accesses a different function. There are simple functions for basic text formatting and more advanced features like creation of links and tables.
To use the buttons in the toolbar you must move your mouse pointer over the button. The button will highlight and a message with the information about the button function will appear. Click on the button to execute its function. With more experience you will have full control over all FCKeditor features and you won't have to read the description of the buttons. You will just use them intuitively.
Besides the toolbars buttons there are also toolbar combos (drop down boxes). The combos are the white areas with a little arrow on its side. They can be easily accessed by clicking on the white area or the little arrow. Once clicked, the menu will expand so you can choose from one of its available options. To execute one of them, simply click on it.
These tools are common tools found in most desktop editing applications.
A few special features are:
Here are keyboard shortcuts for the editor:
- CTRL+A highlights the whole editing area
- CTRL+B changes your font to bold.
- CTRL+C copies the highlighted area to the clipboard.
- CTRL+I changes your font to italic.
- CTRL+L opens the Link window.
- CTRL+SHIFT+S saves the document.
- CTRL+U changes your font to underlined.
- CTRL+V or SHIFT+INSERT pastes the data from the clipboard
- CTRL+X or SHIFT+DELETE cuts the highlighted area.
- CTRL+Y or CTRL+SHITF+Z starts the redo function.
- CTRL+Z starts the undo function.
- CTRL+ALT+ENTER fits the editor in the browsers window.
You may save your draft at any time. You may also preview/print or publish your syllabus to the web. The Publish option is located on the right-hand side of the Syllabus page.
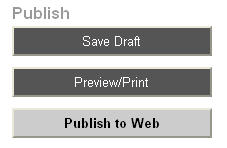
NOTE: Lighthouse has an automatic save feature, just in case anything happens before you are able to save a draft.
You may reorder your syllabus or add additional content areas to your syllabus using the Tools feature. The Tools feature is located on the right-hand side of the Syllabus page.

If you click "Add Content Area" you will automatically be directed below your other content areas to a new content area.
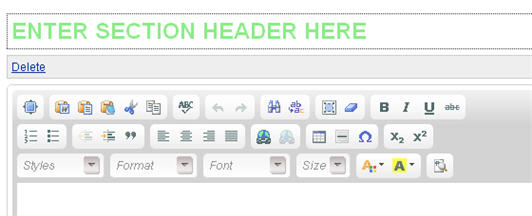
You will enter the section header, where you read "Enter Section Header Here". If you choose not to have a new section, you may click on "Delete" to remove the selected content area.
For example, you may want to alert students that this syllabus is a tentative syllabus or that it is subject to change. You may add “Disclaimer” as the section header and then you may want to re-order the syllabus so the “Disclaimer” is at the top. You could also make a note: For more information, please see this URL (Bb course, course website, department website, etc.).
Re-order Tool
Once selected you will be able to drag and drop your sections. Once you drop them they will be saved automatically.
After you have added all content areas to your syllabus, click on Publish to Web.
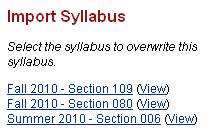
If you would like to import a previous semester syllabus, you may choose which course and section:
If you have multiple sections and would like to use the same syllabus for your other sections, you must first publish the syllabus.
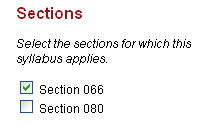
You will select the section for which the syllabus applies.
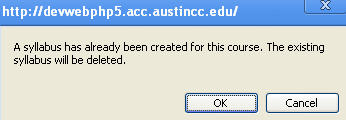
You will receive a warning message if the section already has a syllabus attached to it.
NOTE: If you make changes to the required content areas on your paper syllabus throughout the semester, remember to make those changes to the required areas in Lighthouse!!
Click Here to Add or Update Your Curriculum Vitae... |