Using Gradients
In addition to painting with the solid colors that appear in the color list (shown below) on the Toolbox, Color panel, or Properties panel, you can also use any of the preset gradient fills at the bottom of the color list.

To build your own gradient, set the Type of fill to "Linear" or "Radial" gradient (instead of "Solid") on the Color panel (WINDOW>Color):
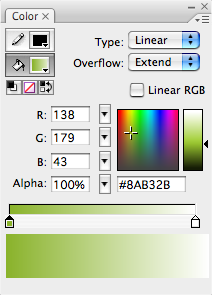
The Color panel allows you to set any number of color stops along a gradient ramp that blends them. To change the gradient colors, select the Color stop(s) below the ramp, and pick a color from the scratch area above (or double-click the color stop to open the swatches list).
To add additional color stops, click below the color ramp.
To remove color stops, drag them off the panel.
Set the type of gradient to "Linear" or "Radial"
You can save any of the gradients you build by choosing "Add Swatch" in the Color panel drop-down menu (top right corner of the panel). Swatches appear at the bottom of the color list in the Toolbox, Properties panel, and Color panel (there is also a Color Swatches palette in the WINDOW menu)
Transforming Gradient Fills
To fill an object with a gradient, set the Oval or Rectangle tool Fill color to the desired gradient prior to drawing, or set the Paint Bucket tool color to the desired gradient and click the object you wish to fill.
You can orient the direction of a linear gradient by dragging the Paint Bucket across the shape in the direction you want the gradient to run.
You can set the center of a radial gradient by clicking on an object with the Paint Bucket.
To further manipulate the orientation of the gradient within a shape, click the shape with the Gradient Transform tool--circled below. Use the handles that appear around the gradient in the following ways:
![]()
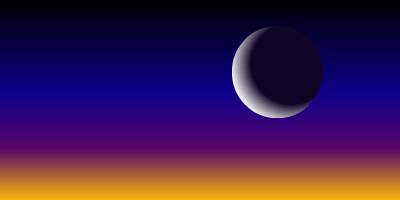
Create a crescent moon at sunset:
- In a new Flash file, Select the Rectangle tool, and set the Stroke
color to "none" (
 ).
).
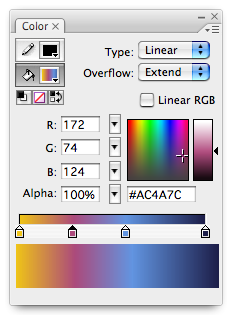
- On the Color panel (WINDOW > Color panel), set the Fill drop down
menu to "Linear."
- Edit the color stops of the gradient ramp to orange, violet, dark
blue, and black (if you need additional color points, click below the
color ramp; if you accidentally add too many color stops, drag them down off the panel):
- Choose the "Add Swatch" from the panel drop-down menu (top
right corner).
- While on the Color panel, set up the "moon" gradient by
selecting "Radial Gradient" from the drop-down menu.
- Remove the orange and black pure color points by dragging them off
the panel.
- Change the violet color point to black.
- Change the blue color point to white.
- Choose the "Add Swatch" from the panel drop-down menu (top
right corner)
- Before drawing the rectangle, select the linear sunset-colored gradient
you first drew, from the Fill option on the Toolbox.
- Draw a large rectangle to cover the entire stage.
- With the Paint Bucket tool, drag across the rectangle, from bottom to top (Like Photoshop's Gradient tool, you begin dragging where you want the left-most color in the gradient, and drag in the direction and length you want the gradient applied).
Now you'll create the moon off to the side, so you don't punch a hole through the sunset rectangle:
- Choose the Oval tool, and set the Fill option to the Black and White
radial gradient you created earlier.
- Draw a perfect circle (hold SHIFT) off to the side of the sunset rectangle
(do NOT allow the circle to overlap any part of the rectangle).
- Select the circle (including its stroke, if there is one) and group
it.
- Move the moon on top of the sunset.
- To reposition the radial gradient so the moon looks like a crescent
moon, double-click the Moon to edit that group.
- Select the Gradient Transform tool.
- Click on the moon.
- Move the centerpoint of the radial gradient off to one side, and scale
the gradient if necessary (see above diagram on how to scale radial
gradient fills).
- Click "Scene 1" at the top left corner of the document to exit group editing mode, and save your work.